DIY Bicycle Repair guide. Tools needed, step-by-step instructions for fixing flats, adjusting brakes, truing wheels, & more. Keep your bike tuned!
Table of Contents
Bicycle Repair: Essential Skills and Tips

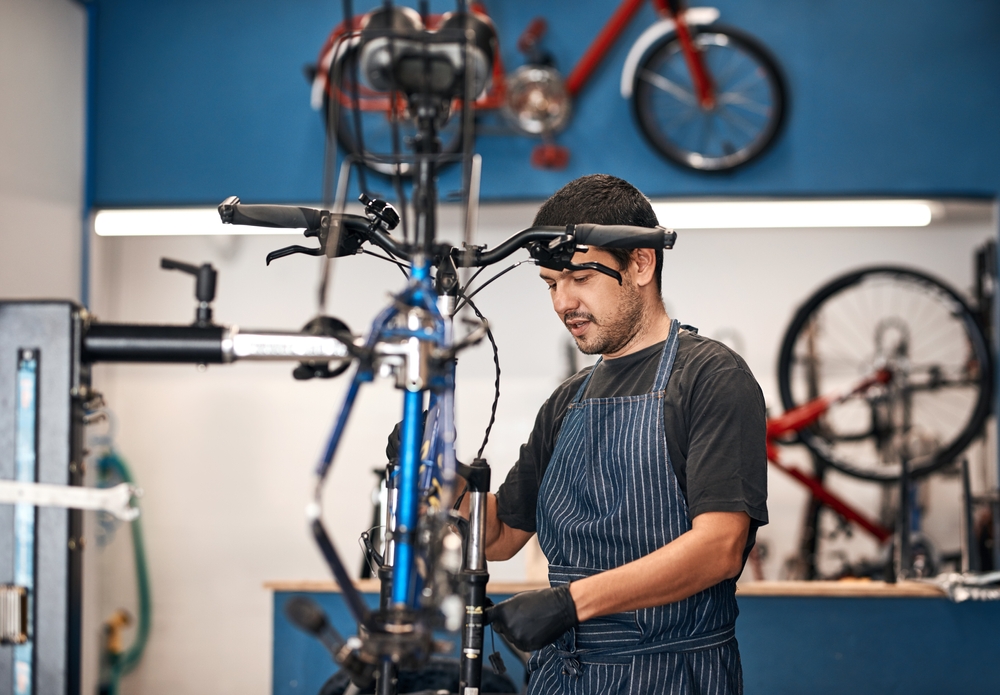
Maintaining your bicycle is crucial for safe and enjoyable rides. Regular repair routines can prevent issues from developing and prolong the life of your bike. This post covers basic repair skills every cyclist should know.
Tools You Need
- Tire levers
- Patch kit
- Mini pump
- Hex wrenches (various sizes)
- Chain tool
- Screwdrivers (Phillips and flathead)
- Lubricant
- Cable cutters
- Spoke wrench
Fixing a Flat Tire
Detach the wheel using the quick release or axle nuts. Remove the tire with tire levers, being careful not to damage the inner tube. Inspect the tire for sharp objects. Inflate the tube slightly and submerge it in water to find the puncture. Dry the tube and apply a patch from your kit. Reinstall the tube and tire, ensuring it’s seated evenly. Inflate to the recommended pressure.
Adjusting Brakes
Identify the type of brakes your bike uses: rim brakes or disc brakes. For rim brakes, check pad alignment so they contact the rim squarely. Use a hex wrench to adjust the pad position. For disc brakes, ensure the pistons move evenly. Adjust the caliper alignment using mounting bolts. Test for smooth operation and reliable stopping power.
Tightening a Loose Chain
If your chain is loose, it may affect shifting and efficiency. Use the barrel adjuster near the derailleur to increase or decrease cable tension. For single-speed bikes, loosen the rear axle nuts and pull the wheel back to tighten the chain. Tighten the nuts and ensure the wheel is aligned correctly.
Lubricating the Chain
Clean the chain with a degreaser and a brush. Wipe it dry with a clean cloth. Apply lubricant evenly across the chain, focusing on the rollers. Rotate the pedals to distribute the lubricant. Wipe off excess lube to prevent dirt buildup. Regularly lubricating your chain reduces wear and enhances performance.
Truing a Wheel
A wobbly wheel can cause discomfort and reduce handling. Identify the bent section by spinning the wheel and watching the rim relative to the brake pads. Use a spoke wrench to adjust the tension on the affected spokes. Tighten the spokes on the opposite side of the bend and loosen those on the side of the bend. Make small adjustments and check frequently. Aim for minimal wobble.
Replacing Brake Pads
Worn brake pads need replacing to ensure effective braking. For rim brakes, remove the old pads by loosening their holding bolts. Slide the new pads into place and tighten the bolts. Align them properly with the rim. For disc brakes, remove the wheel, then the pads from the caliper. Insert new pads and secure them. Reinstall the wheel and test for proper function.
Replacing Inner Cables
Frayed cables can make shifting and braking unreliable. Cut the end cap and pull out the old cable. Thread a new cable through the housing. Attach it to the derailleur or brake arm, ensuring the proper route. Pull it taut and tighten the clamping bolt. Trim the excess cable and fit an end cap to prevent fraying.
Checking for Frame Damage
Inspect the frame for cracks or dents regularly. Focus on high-stress areas like the bottom bracket, head tube, and chainstays. Small cracks can grow if untreated. If you find significant damage, consult a professional. Riding with a damaged frame is dangerous.
Cleaning Your Bike
Keeping your bicycle clean protects components and enhances appearance. Use a soft brush and soapy water to clean the frame. Avoid high-pressure hoses as they can force water into bearings. Dry the bike with a cloth. Clean the drivetrain separately with a degreaser and re-lubricate.
Setting Correct Saddle Height
A poorly positioned saddle can cause discomfort or injury. Sit on the saddle and place your heel on a pedal at the bottom of the stroke. Your leg should be nearly straight. Adjust the saddle height if needed. Ensuring the correct height improves efficiency and comfort.
Removing Pedals
Use a pedal wrench or hex key. Remember, the left pedal is reverse threaded. Turn the wrench counterclockwise to remove the right pedal and clockwise for the left pedal. Grease the threads before reinstalling to prevent seizing.
Aligning Handlebars
If your handlebars are misaligned, it can affect control. Loosen the bolts on the stem where it attaches to the steerer tube. Align the handlebars with the front wheel. Tighten the bolts evenly to prevent uneven pressure. Make adjustments as needed to ensure comfort.
Repairing a Stuck Seat Post
A stuck seat post can be frustrating. Apply penetrating oil to the post and allow it to sit. Use a seat post removal tool if available. If it doesn’t budge, take it to a professional. For prevention, regularly clean and grease the seat post.
Installing New Grips
Remove old grips using a knife or compressed air. Clean the handlebar surface. Apply grip glue or rubbing alcohol inside new grips. Slide them onto the bars quickly before the adhesive dries. Allow them to set properly before riding.
Dealing with Rust
Rust can damage components and reduce lifespan. Remove rust spots using steel wool or a rust remover solution. Protect your bike by keeping it dry and applying a protective coating. Store your bike indoors if possible.
Replacing Brake Cables
Cut and remove old cables. Thread new cables through the housing and levers. Attach them to the brake arms or calipers and secure with clamping bolts. Adjust cable tension as needed for proper brake function. Trim excess cable and fit end caps.
Fixing a Slipping Chain
A chain that slips under load can be dangerous. Check if the chain is stretched using a chain checker tool. Replace if necessary. Inspect the cassette and chainrings for wear. Worn teeth can cause slipping and should be replaced.
Tips for DIY Maintenance
- Keep a maintenance schedule
- Invest in quality tools
- Learn from trusted sources
- Practice regularly
- Don’t ignore small issues
Understanding Basic Bicycle Components
Knowledge of major bicycle parts is essential for effective repairs. The frame is the main structure. Wheels consist of rims, spokes, and hubs. The drivetrain includes the pedals, chain, chainrings, cassette, and derailleurs. Brakes are essential for stopping power. The handlebar and stem control steering. The seat post and saddle affect riding comfort.
Regular Inspections
Perform regular checks on all parts of your bike. Look for signs of wear or damage. Test brake performance and shifting smoothness. Check tire pressure and tread conditions. Address any issues immediately to prevent major repairs.
Keeping Records
Document your maintenance and repairs. Note dates and details of tasks performed. This helps track the condition of components and predict when replacements will be needed. It’s useful for selling the bike as it shows a history of care.
Using the Correct Lubricants
Different bike parts require specific lubricants. Use wet lube for wet conditions and dry lube for dry conditions on chains. Grease threaded parts to prevent seizing. Apply anti-seize on components exposed to high heat.
Budgeting for Repairs
Set aside funds for regular maintenance and unexpected repairs. Investing in quality parts and tools pays off in the long run. Avoid cheap components that wear quickly or fail prematurely.
Learning Advanced Repairs
After mastering basics, consider learning advanced repairs. Truing difficult wheel issues, rebuilding hubs, or overhauling the bottom bracket. These skills save money and improve your mechanic proficiency.
Benefits of Proper Bicycle Maintenance
Regular maintenance improves bike performance and longevity. It ensures safety during rides and can enhance your cycling experience. Taking care of your bike also helps maintain its value over time.


