Understanding Dropper Posts
Understanding Dropper Posts
The dropper post is a vital component for modern mountain biking. It allows cyclists to adjust their saddle height on-the-fly. The flexibility can be crucial for both climbing and descending.
What is a Dropper Post?
This device fits into the seat tube of a bicycle. It lets riders change their seat height without dismounting. Technology has advanced to make this action possible with a simple lever or remote.
Dropper posts use hydraulics or mechanical cables. Hydraulics offer smoother operation and are often found in higher-end models. Mechanical systems are simpler and easier to maintain.
Why Use a Dropper Post?
The primary benefit is enhanced flexibility. When climbing, a higher saddle position provides better power transfer. For descents, lowering the saddle drops the center of gravity, improving control and stability.
With a dropper post, riders can transition smoothly between different types of terrain. This adaptability boosts confidence and performance on technical routes.
Types of Dropper Posts
- Internal Routing: Cables run inside the frame. Offers a cleaner look and better protection.
- External Routing: Cables run outside the frame. Easier to install and maintain.
- Mechanically Actuated: Uses a cable similar to a gear shift. Simple and reliable.
- Hydraulically Actuated: Uses fluid for smoother operation. Requires more maintenance.
How to Choose a Dropper Post
Consider travel length. This is the maximum amount the post can drop. Common lengths range from 100mm to 200mm. The appropriate length depends on the rider’s height and bike size.
Fit is essential. Measure the seat tube diameter and insertion depth to ensure compatibility. Some posts come with adjustable air pressure for a customized feel.
Reliability is crucial. Brands like RockShox, Fox, and KS offer durable and trusted options. Reading reviews and seeking recommendations can guide a wise investment.
Installation Tips
Installing a dropper post can be straightforward with basic tools. First, remove the existing seat post. Clean the seat tube and apply a thin layer of grease.
For internal routing, run the cable inside the frame. Attach the remote to the handlebars. Connect the cable or hydraulic line to the dropper post. Seat the post in the tube and tighten to specifications.
Align the saddle and adjust its angle as needed. Test the dropper action multiple times. Ensure it moves smoothly and that the remote is ergonomically positioned.
Maintenance Practices
Regular maintenance can extend the post’s life. Keep it clean by wiping dust and dirt after each ride. Lubricate moving parts periodically.
Inspect the cable or hydraulic line for wear. Replace if signs of fraying or leaks are noticed. Some hydraulic posts may need occasional bleeding, similar to brake systems.
Store the bike properly. Keeping it upright minimizes stress on the dropper post. Periodic professional servicing can also keep the post in optimal working condition.
Common Issues and Solutions
- Sticking: Clean and lubricate the post. Check for dirt inside the seat tube.
- Sagging: Check air pressure if applicable. Inspect seals for damage.
- Remote is Unresponsive: Tighten or replace the cable. Bleed the hydraulic line if necessary.
- Noise: Lubricate the post and inspect for loose parts.
Innovative Features
Some posts include adjustable return speeds, allowing riders to fine-tune performance. Others feature drop-stop settings to limit the range of travel. These advancements cater to varied riding styles and preferences.
A few models even come equipped with position sensors. These sensors provide data on post position, aiding in training and performance analysis.
Environmental Considerations
When selecting a dropper post, consider environmental impact. Opt for durable models to reduce waste. Brands focusing on sustainability use recycled materials and eco-friendly manufacturing processes.
Future of Dropper Posts
Technology in this area is continually evolving. Future posts may offer wireless control, further reducing weight and complexity. Enhanced materials, such as advanced composites, could lead to lighter and stronger products.
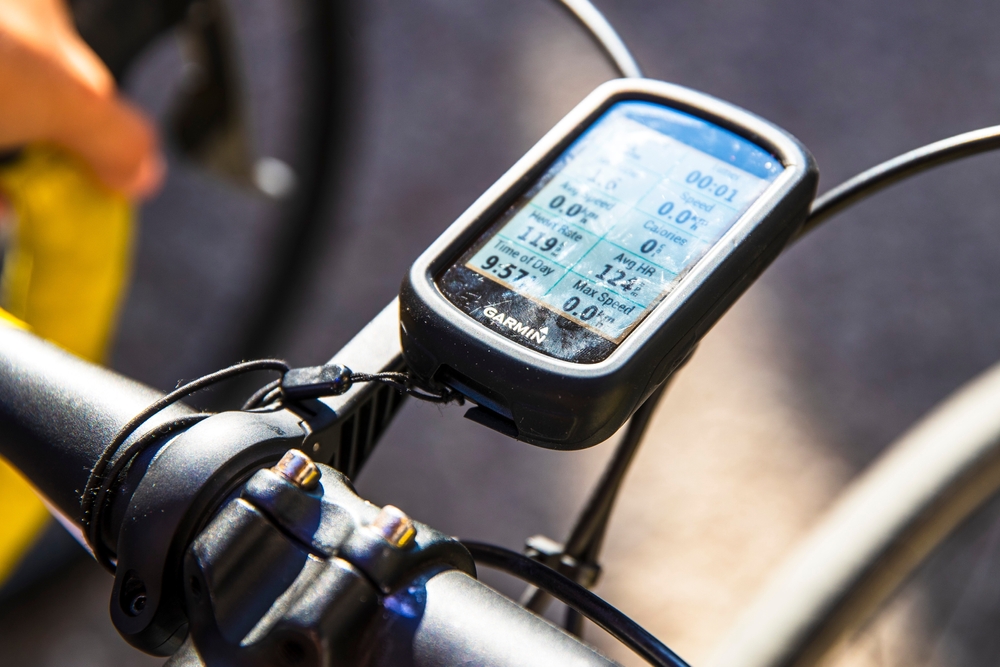
Integration with smart bike systems is another possibility. Connectivity with cycling computers and apps can provide real-time feedback on saddle positions. This could foster better training and more personalized riding experiences.
Useful Tips
- Experiment with different saddle heights on various terrains. This helps in understanding the optimal settings for different conditions.
- Practice using the remote in a controlled environment first. Familiarity with its operation can prevent mishaps during rides.
- Carry spare parts, such as cables or a mini bleed kit. These can be lifesavers during long rides.
Community and Resources
Joining local cycling groups or online forums can be valuable. Sharing experiences and tips often leads to discovering effective solutions and best practices.
Many cycling events and workshops also focus on equipment maintenance. Participating in these programs enhances technical skills and knowledge.


