You just spent $80 on tubeless tires, applied sealant, mounted them on the rim, and started pumping. The tire popped onto one bead, but the other side is just sitting there — air hissing out faster than you can pump it in, the bead stubbornly refusing to snap into place. You’ve been at this for 20 minutes and the tire looks the same as when you started.
This is the single most frustrating part of tubeless setup, and it happens to almost everyone the first time. Here’s what actually works.
Why the Bead Won’t Seat: The Core Problem
Tubeless tires seal against the rim using a tight bead that snaps into a small channel machined into the rim wall. For the bead to seat, air pressure needs to build up inside the tire fast enough that the bead pops outward into that channel before all the air leaks out through the gap.
With a standard floor pump, you can’t push air in fast enough. The air escapes between the unseated bead and the rim faster than your pump refills it. Pressure never builds. The bead never moves. You pump harder and nothing changes.
The fix is always the same principle: get air into the tire faster than it leaks out. Everything below is a variation of that idea.
Method 1: Compressor or Tubeless Inflator Tank
The most reliable method. A tubeless inflator tank (Topeak TubiBooster, Bontrager Flash Charger, or similar) stores compressed air and dumps it into the tire all at once. The sudden burst of pressure seats the bead in about 2 seconds.
If you have access to an air compressor at a gas station or garage, that works too. Set it to 40-50 PSI and hit the valve. The high volume of air overwhelms the leak rate and the bead pops on.
If you’re setting up tubeless tires more than once or twice, a $50 inflator tank pays for itself in sanity savings. It’s the tool that makes the entire process feel simple instead of maddening.
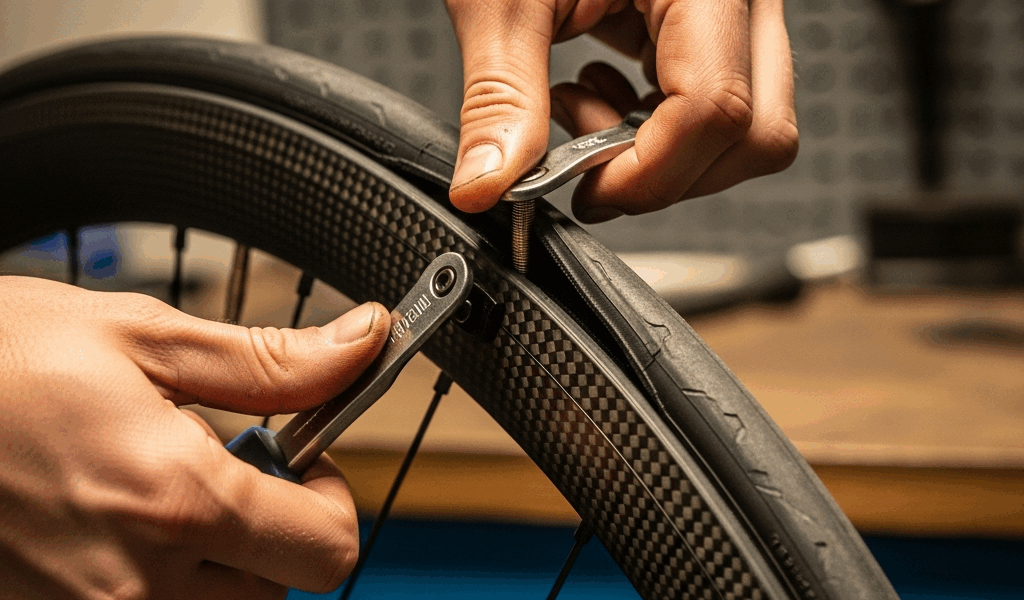
Method 2: Remove the Valve Core
If you only have a floor pump, remove the valve core first. The valve core is the small threaded insert inside the Presta valve that controls airflow — it’s the bottleneck limiting how fast air enters the tire.
Unscrew the valve core with a valve core tool (or small pliers). Now the valve opening is three times wider. Pump hard and fast. The increased airflow is often enough to seat the bead with a standard floor pump. Once seated, carefully thread the valve core back in while keeping pressure on the pump to minimize air loss.
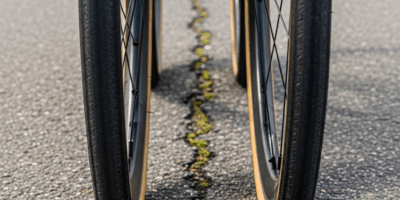
Add sealant through the valve stem after the core is reinstalled. Use a syringe or the sealant bottle’s injector tip — most tubeless sealant brands include one.
Method 3: Soapy Water on the Bead
Mix a few drops of dish soap with water and brush it generously around the bead and rim interface on both sides. The soapy water does two things: it lubricates the bead so it slides into the rim channel more easily, and it temporarily seals the gap between the bead and rim, reducing air leakage during inflation.
This alone won’t fix a stubborn tire, but combined with removing the valve core or using fast pumping, it’s often the difference between 3 failed attempts and getting it on the first try.
Method 4: Strap Trick
Wrap a ratchet strap or old tube around the center of the tire’s tread and tighten it. This squeezes the tire inward at the center, which pushes the bead outward toward the rim on both sides. With the bead pressed closer to the rim channel, less air escapes during pumping and the bead is more likely to pop into place.
It looks ridiculous. It works surprisingly well. Tighten the strap firmly but not so tight you deform the tire. Pump with the strap on. Once both beads seat (you’ll hear two distinct pops), release the strap.
Still Won’t Seat? Check These
Rim tape: If the rim tape isn’t covering the spoke holes completely or has a wrinkle, air leaks through the rim bed instead of building pressure. Remove the tire, check the tape, and re-tape if needed. Use proper tubeless rim tape — electrical tape and generic alternatives fail under pressure.
Tire-rim compatibility: Not all tire and rim combinations play well together. Some tire brands run tight (hard to mount but seal easily) while others run loose (easy to mount but won’t seat). If your tire slides onto the rim with zero effort, it may not have enough bead tension to seat properly. Check that both the tire and rim are marked “tubeless ready” or “tubeless compatible.”
Bead not centered: Before inflating, manually push the bead into the rim’s center channel all the way around on both sides. If the bead is sitting high on one side and low on the other, air escapes unevenly and only one side seats. Getting both beads centered before pumping gives you the best shot at an even seal.
Tubeless setup is the worst 15 minutes of an otherwise excellent tire system. Once the beads seat and the sealant cures, you get lower rolling resistance, better puncture protection, and the ability to run lower pressures for comfort. The setup fight is a one-time cost for months of better riding.


Leave a Reply