Why Gears Skip Specifically Under Load
Road bike gearing has turned into a moving target with all the conflicting advice flying around. Tighten this, loosen that, blame the derailleur, blame the cable. But when your chain skips specifically under load — standing to attack a climb, pushing through a sprint — the cause is almost never what most guides tell you to fix first.
The skip follows a maddening pattern. You shift into a gear, pedal smoothly, then stand up and apply real pressure. The chain slips. Your pedal drops. Power disappears for a split second before everything catches again. That’s a specific failure mode, and it has specific causes.
Skipping while coasting or at rest? That’s cable tension. Simple. But skipping under load — the kind that forces you back into the saddle to spin easy — that’s something else entirely. The derailleur might look fine. The cable might feel right. Everything falls apart the moment you actually push.
Three culprits. A stretched chain loses its tooth pitch and stops meshing cleanly when torque is applied. A worn cassette grows hooked, shark-finned teeth that can’t grip under pressure. And borderline cable tension — just tight enough to work while coasting, not tight enough to hold indexing when the frame flexes and the drivetrain loads up. Worth putting near the top, because most riders burn an hour adjusting cable tension when their chain has been cooked for 2,000 kilometers.
Work the checks in order. Chain first. Cassette second. Cable third. Derailleur hanger last. This sequence saves real money.
Step 1 — Check Chain Wear First
A stretched chain causes more load-dependent skipping than anything else on this list. The wear is invisible while it’s happening. You pedal thousands of kilometers. The pins slowly erode their holes wider. The chain’s effective pitch creeps up. Under hard pedaling pressure, it no longer seats into cog teeth with the precision needed for clean engagement.
Get a chain checker tool. Park Tool makes the CC-3.2. Shimano makes their own version. Either one runs 8 to 15 dollars at most shops. Clip the tool onto the chain and press down. The 0.75 mm side dropping in means you’ve hit the replacement threshold — critical for higher-end groupsets like Ultegra or Dura-Ace. The 1.0 mm side dropping means replace it regardless of what groupset you’re running.
But here’s what the tool won’t tell you: if the cassette teeth are also worn, a new chain alone won’t fix anything. Fresh chain, hooked cog teeth, same skip. I learned this the hard way — replaced the chain on my 2017 Specialized Tarmac after it measured past 0.75 mm, took it out for a weekend ride in the Santa Cruz hills, and watched it skip just as badly as before. The middle cogs had developed slight hooks after about 12,000 kilometers of use. New chain, worn cassette. Had to replace both anyway.
Side-step the error I made. If the chain checks worn, inspect the cassette before ordering parts. If the chain checks fine — under 0.75 mm — move straight to cassette inspection. Either way, don’t assume chain replacement alone closes the case.
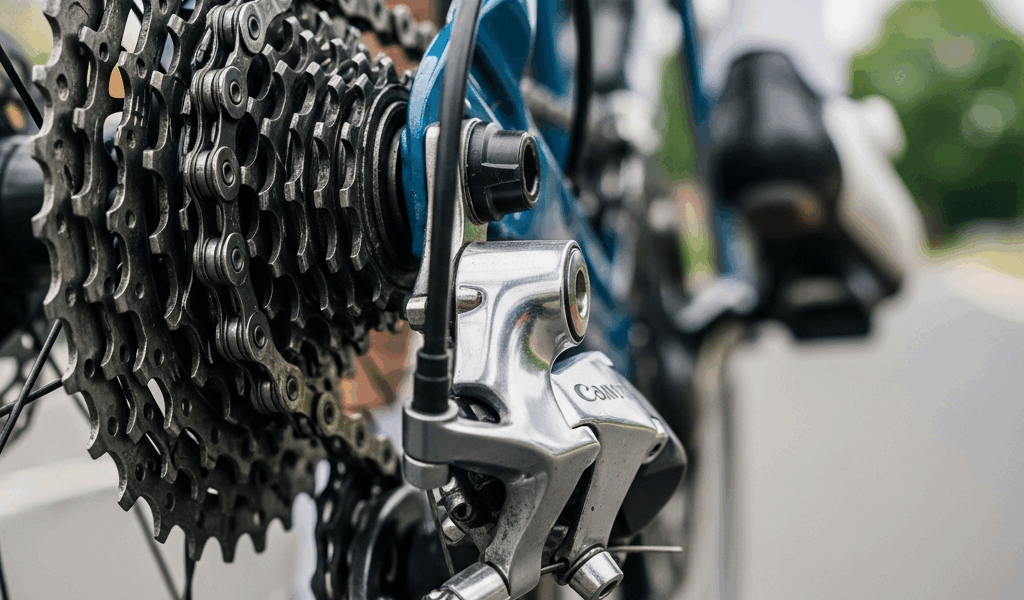
Step 2 — Inspect the Cassette for Shark Fin Teeth
But what is a shark fin tooth, exactly? In essence, it’s a cog tooth that’s worn asymmetrically — hooked forward in the direction of chain travel, with the leading edge curved and the trailing face flattened. But it’s much more than just cosmetic damage. That hook is why the chain launches off the cog the moment real torque hits.
Look at the cogs from the side, perpendicular to the wheel. Healthy teeth are symmetrical — even faces on both sides, clean tips. Worn teeth lean forward. One face is angular and curved. The other is rounded and soft. You’ll know it when you see it.
Not all cogs wear evenly. Road cyclists spend most of their time in the 15-tooth through 19-tooth range — roughly 60 to 70 percent of pedaling time lands there. Those middle cogs take the beating. Spin the wheel slowly and focus your inspection there first. The 11 and 12-tooth cogs usually look nearly new while the 17 is already hooked.
Hooked teeth are permanent. No cable adjustment fixes them. No derailleur realignment fixes them. The cassette has to go. A Shimano Ultegra 11-speed 11-28 cassette runs 40 to 60 dollars. SRAM Red territory pushes 70 to 90 dollars. Shop labor to swap it adds another 30 to 50 dollars. Expensive, yes — but a worn cassette will chew through a new chain within a few thousand kilometers anyway. Replace both together when wear is visible. One trip, one bill.
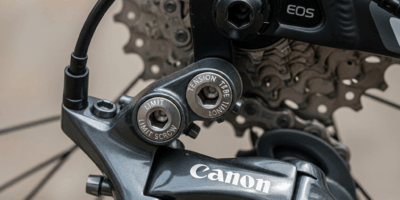
Step 3 — Adjust Cable Tension the Right Way
Chain is good. Cassette looks clean. Then cable tension is next. Find the barrel adjuster — the small cylindrical dial where the cable enters the derailleur body. Counterclockwise loosens tension and moves the derailleur toward larger cogs. Clockwise tightens and pushes toward smaller cogs. Half-turn increments only.
Start by shifting to the smallest cog. Pedal slowly. Shift through the whole range toward the largest cog. Listen for clean, definitive clicks — the chain should drop onto each cog without hesitation or grinding. That’s baseline.
Now the part most guides skip entirely: load testing. Find a short hill or a flat stretch where you can stand on the pedals and push hard. Sprint or climb hard for 10 seconds — real effort, real torque. Does the chain skip? If yes, the cable is still loose. Tighten another half-turn. Test again under load. Keep going until the skip disappears specifically under pedaling pressure, not just while spinning easy in the parking lot.
That load-testing step is everything. Adjusting at rest and calling it done is how people end up back at the shop the following weekend. The skip happens under torque. That’s where you have to eliminate it.
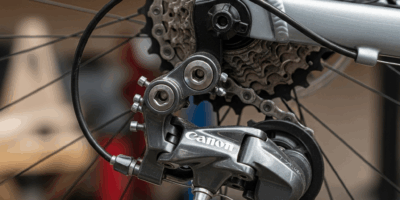
Step 4 — Check the Rear Derailleur Hanger for Bend
A bent derailleur hanger produces skipping that feels load-dependent — which is why it ends up on this list. When you stand and push hard, the frame flexes slightly. A bent hanger angles the derailleur differently under load than it does while you’re seated and spinning easy. The skip appears exactly when pressure increases. Seated riding feels fine. Standing efforts don’t.
Spin the rear wheel slowly and watch the derailleur cage. The cage should hold a consistent distance from the largest cog through the full rotation. If that gap widens and narrows as the wheel turns, the hanger is bent — probably enough to matter.
The Park Tool DAG-2 hanger alignment tool costs 50 to 60 dollars and makes this diagnosis clean. Insert it into the rear axle, rotate slowly around the wheel, and watch the indicator arm. It should stay parallel to the cog faces. Any deviation means the hanger needs straightening or replacement.
Hangers bend in undramatic ways. A minor crash. A clipless pedal unclip that sends the bike into a curb. Aggressive shifting under load. The bend is small enough that nothing looks visibly wrong, but significant enough that frame flex under hard pedaling pushes the derailleur out of alignment just past the tolerance threshold. Straightening runs 15 to 25 dollars at a shop. Replacement hangers cost 20 to 40 dollars depending on the frame — and they’re frame-specific, so have your bike model ready before ordering.
So, without further ado, work these four steps in sequence. Most riders find the real culprit in steps one or two — worn chain, worn cassette, or both together. Cable tension and hanger bends account for the rest. Address the actual wear, not the symptom, and the skipping stops.


Leave a Reply