Where Is That Click Actually Coming From
Clicking noises from road bike pedals have gotten messy with all the conflicting advice flying around. I spent three weeks chasing the wrong diagnosis on my Specialized — convinced it was the pedal bearings — before finally realizing the click was never the pedal at all. It was my cleats. Most articles jump straight to bearing service or full pedal replacement without actually helping you figure out what’s generating the noise. So I’m starting here.
Before you touch a single tool, isolate the click using three questions. Write down your answers. This is genuinely the triage work that separates a 15-minute fix from an afternoon of wasted effort.
- Does it click only when clipped in, or also with flat shoes? Noise that vanishes in regular sneakers points straight to the pedal-cleat system. Still clicking in flat shoes? The problem lives somewhere in the crank, bottom bracket, or frame — not the pedal at all.
- Is the click tied to your pedal stroke, or totally random? Rhythmic clicking that matches your cadence suggests cleats, pedal bearings, or crank arms. Sporadic clicking with no timing pattern usually means something loose in the frame or saddle area.
- Does it only happen under hard pedaling, or also while spinning easy? Load-dependent clicks often point to loose cleat bolts or worn bearings. Clicking equally at 60 rpm and 100 rpm suggests a loose component somewhere — bottle cage, saddle rail, the usual suspects.
That framework alone has saved me hours. So, without further ado, let’s dive in.
Fix Cleat and Pedal Interface Clicks First
Ninety percent of pedal-related clicks originate at the cleat — not the pedal itself. That’s what makes this so maddening. The connection point where shoe meets pedal has multiple failure modes, and most shops underdiagnose it every single time.
Worth saying out loud. Start with cleat bolt torque. Shimano and Look both spec their cleats at 4–5 Nm. That’s snug when you pinch it with a hex key, but nowhere near crack-the-shoe-sole territory. I once cranked a cleat bolt down to what I was sure was “firm” and delaminated my entire shoe sole. Don’t repeat what I did. Use a small torque wrench — or, if you don’t own one, use the feel-test: the bolt should demand real pressure from your hex key, but you should still be able to start tightening it with just finger and thumb. No muscling.
Next, inspect the cleats themselves. Shimano SM-SH11 and Look Keo grey cleats wear out faster than newer designs — worn float mechanisms create flex, and flex creates noise. If your cleats are over two years old and you’re logging 4,000+ km per season, replacement is honestly cheaper than diagnosis. A set of Shimano SPD-SL cleats runs $35–50 and takes maybe five minutes to swap.
Check the cleat bolts for thread damage or corrosion too. Road salt and sweat destroy steel fasteners fast. If a bolt spins without tightening, the shoe’s threaded insert is stripped. That’s a $15–30 repair at any decent shop — assuming the sole is otherwise sound.
Here’s the move most riders completely skip: apply a thin layer of grease or anti-seize compound to the cleat bolts before reinstalling. Thin. Not caked on. I’m apparently a white lithium grease person, and a cotton swab with one tiny dab per bolt works for me while bare-threading them never does. This dampens micro-vibration and keeps the bolts from slowly backing out over time.
Finally, flex your shoe sole around the cleat plate with both hands. If the sole rocks or bends noticeably where the cleat attaches, the shoe is structurally done. Too much flex and the cleat clicks against the pedal no matter how tight those bolts are. No fix for that except new shoes.
How to Service or Replace Clicking Pedal Bearings
Pedal bearing noise has a different texture than cleat noise — usually a grinding click rather than a sharp pop, and it often shifts pitch as you spin the pedal by hand. To diagnose, grab the pedal body while the bike’s in a stand and push laterally. Sideways play means the bearings are shot or the axle is loose. Pretty definitive test.
But what is a pedal bearing service? In essence, it’s cleaning and repacking the bearings with fresh grease to eliminate play and noise. But it’s much more than that — the approach varies wildly depending on the pedal brand.
Shimano SPD-SL pedals have accessible bearing cartridges that can be serviced with fresh grease. Doable for anyone comfortable working with small bearings and seals. Campagnolo Record or Super Record pedals are trickier — they often need full replacement rather than bearing service. Look up your model number plus “bearing service” before assuming you can fix it yourself. I learned that lesson with a pair of older Time ATAC pedals that turned out to be essentially non-serviceable.
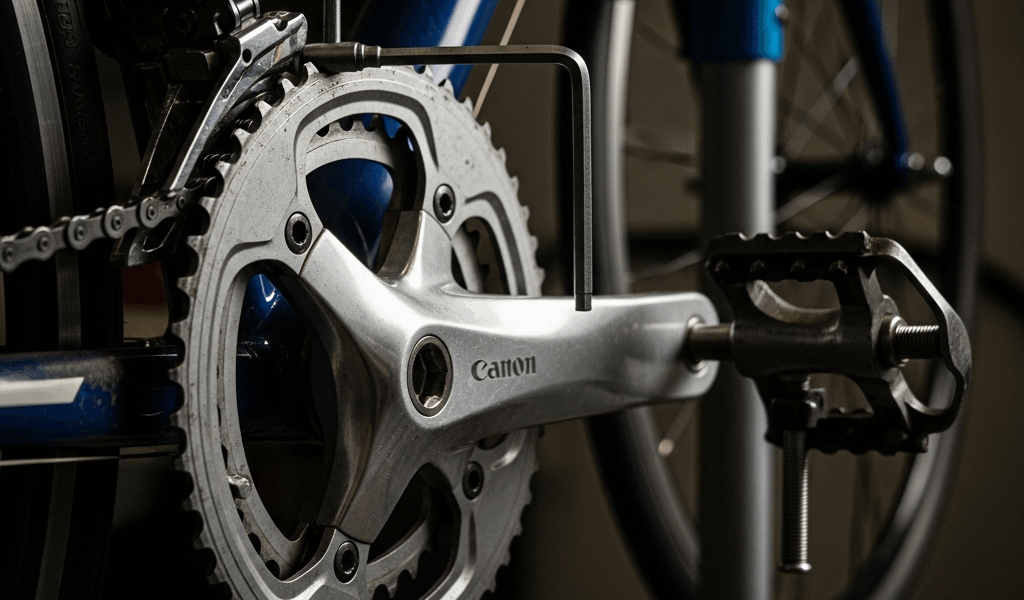
One critical detail — the left pedal has reverse-thread attachment to the crank arm. Righty-tighty, lefty-loosey does not apply here. Left pedal is reverse. Say it three times before you touch a wrench.
Service interval reality: pedals over 10,000 km old are often cheaper to replace outright than to rebuild. A quality set of Shimano SPD-SL PD-R7000 pedals runs $130–180 and arrives with new seals, new bearings, new everything. A bearing service might save you $30–50, but it takes a solid hour of careful work. Do the math for your situation.
Crank Arm Bolts and Bottom Bracket Are the Usual Suspects
Crank interface noise mimics pedal noise almost perfectly. The crank arms flex slightly with every pedal stroke, and any looseness at the spindle interface creates a click that travels straight up into your shoe — feels exactly like a pedal problem. That’s what makes crank interface issues so frustrating to diagnose.
Check your crank arm bolts first. Shimano Hollowtech II systems spec 12–14 Nm. Stronger than cleat bolts, but not motorcycle-engine-tight. A small torque wrench is genuinely essential here — grabbing a basic CDI 1/4-drive unit for around $25 is smarter than guessing. Loose crank bolts tightened to spec have ended many a mysterious clicking saga immediately.
The bottom bracket interface is next. On threaded BB shells, inspect where the cups meet the frame. Grime and corrosion in that interface create micro-movement — and micro-movement means noise. Clean the shell with a stiff brush, apply a thin grease layer, reinstall. On press-fit BB shells — especially on carbon frames — this is a known weak point. Press-fit BBs shift and creak constantly on many bikes. If you’re running a carbon frame with a press-fit BB and a persistent click that correlates with crank load, you may simply be living with a design flaw. Shimano does make press-fit BB shims that reduce movement, around $10–15, and they genuinely help.
Apply grease or fiber grip compound at the crank spindle interface too. Reduces friction noise and locks the joint slightly. Don’t skip this step — it takes two minutes and eliminates a whole category of noise.
Still Clicking After All That — Try These Last Checks
- Saddle rail clamp: Loosen, clean, retighten to 5–6 Nm. Saddle rail clicks are shockingly common and completely invisible until you know to look. That was my first bike’s mystery click for an entire season.
- Bottle cage bolts: Vibrating cages create rhythmic clicking that syncs perfectly with pedal stroke. Tighten them or yank the cage temporarily to rule it out.
- Shoe upper flex: Stiff cycling shoes don’t flex. Soft or worn-out shoes flex around the cleat area and generate noise that sounds completely mechanical — but isn’t.
- Pedal platform washers: Check that the thin washer under the pedal body isn’t bent, corroded, or missing entirely.
- Frame cracks: Run your hand slowly along the entire frame under good lighting. Hairline cracks in carbon or aluminum click under load. That requires replacement — no patch fix exists.
If the click persists after working through every section above, the diagnosis phase is complete. Take the bike to a shop or replace the pedals outright. You’ve eliminated the guesswork — and honestly, that’s a win.


Leave a Reply